23 Fun and Creative Cardboard Crafts for Kids
Share Me
Introduction
Cardboard is one of the best materials for crafting with kids—it’s easy to find, free, and super versatile! With just a few supplies like scissors, paint, and glue, kids can transform simple cardboard into amazing creations.
Whether it’s a rainy-day project or a fun weekend activity, here are 15 creative cardboard crafts that will keep kids entertained while encouraging imagination and hands-on learning.
1. Toilet Paper Roll Binoculars 🔭

Materials Needed:
- Toilet paper rolls (2)
- Tape or glue
- String
- Paint
- Stickers
- Markers.
Step-by-Step Instructions:
- Use them for pretend play or nature exploration!
- Tape or glue two toilet paper rolls together side by side.
- Decorate with paint, stickers, or patterned paper.
- Punch holes on the sides and attach a string to wear around the neck.
2. Toilet Paper Roll Butterfly 🦋

Materials Needed:
- Toilet paper roll
- Colored paper
- Glue
- Pipe cleaners
- Googly eyes
- Markers.
Step-by-Step Instructions:
- Paint or wrap a toilet paper roll in colorful paper.
- Cut and attach cardboard or paper wings.
- Decorate with glitter, markers, or stickers.
- Glue googly eyes on the front and add pipe cleaner antennae.
3. DIY Bird Feeder 🐦
Materials Needed:
- Toilet paper roll
- Peanut butter
- Birdseed, string.
Step-by-Step Instructions:
- Spread peanut butter or honey over a toilet paper roll.
- Roll it in birdseed until fully covered.
- Slide it onto a tree branch and let the birds enjoy!
4. DIY Snake Craft 🐍
Materials Needed:
- Toilet paper rolls (multiple)
- Yarn
- Paint
- Scissors
- Googly eyes
Step-by-Step Instructions:
- Cut toilet paper rolls into small sections and paint them.
- String them together with yarn to make a flexible snake.
- Add a paper tongue and googly eyes!
5. DIY Puzzle
Materials Needed:
- Cereal box
- Scissors
- Markers or stickers
Step-by-Step Instructions:
- Cut off the front panel of the cereal box.
- Draw a picture or let kids decorate it with stickers.
- Cut the panel into different shapes to create puzzle pieces.
- Mix the pieces up and try to put them back together!
6. Cardboard Guitar
Materials Needed:
- Cereal box
- Rubber bands
- Paper towel tube
- Scissors
- Glue
Step-by-Step Instructions:
- Cut out a large hole in the middle of the cereal box.
- Stretch rubber bands across the hole to create “strings.”
- Attach a paper towel tube at the top as the guitar neck.
- Decorate and start strumming!
7. Animal Mask

Materials Needed:
- Cereal box
- Scissors
- Paint or markers
- Hole punch
- String or elastic
Step-by-Step Instructions:
- Cut out a mask shape from the cereal box.
- Cut eye holes and decorate it like an animal face.
- Punch holes on the sides and attach a string for wearing.
- Have fun pretending to be different animals!
8. Shoebox Diorama

Materials:
- Shoebox
- Colored paper
- Glue
- Small toys
- Markers
Step-by-Step Instructions:
- Stand the shoebox on its side to create a background.
- Decorate the inside with paper or drawings to set the scene.
- Add small toys, figurines, or cutouts to bring the diorama to life.
- Display as a mini-scene of a jungle, outer space, or an ocean!
9. DIY Treasure Chest
Materials:
- Shoebox
- Craft paper
- Glue
- Stickers
- Markers
Step-by-Step Instructions:
- Paint or wrap the shoebox with decorative paper.
- Cut and attach a latch from cardboard to act as a lock.
- Decorate with stickers, rhinestones, or paint to make it look like a treasure chest.
- Use it to store small toys or keepsakes.
10. Pop-Up Card for Kids

Creating a DIY pop-up card is a fun and creative way for kids to make something special for birthdays, holidays, or just to brighten someone’s day!
Materials Needed:
- Cardstock or construction paper (two different colors)
- Scissors
- Glue stick
- Markers, stickers, or decorative paper
- Ruler
- Pencil
Step-by-Step Instructions:
- Fold a piece of cardstock in half to create the base of your card.
- Set it aside for now.
- Take another piece of cardstock and fold it in half.
- On the folded edge, draw two parallel lines about 1–2 inches long.
- Cut along the lines, then fold the cut flap inward to create a crease.
- Open the card and push the flap inward so it “pops out” when you open it.
- Cut out a small shape (a heart, star, flower, or any design) from colored paper.
- Glue it onto the folded flap so that it pops up when the card is opened.
- Use markers, stickers, or decorative paper to make the card’s cover fun and unique!
- Write a message like “You’re Special!” or “Happy Birthday!” on the front.
- Open the card and write a heartfelt message on the inside.
- Kids can add drawings, stickers, or glitter for extra flair!
Alternative pop-up card Method
11. Caterpillar String Puppet Using Toilet Paper Rolls
Create a fun and wiggly caterpillar string puppet using recycled toilet paper rolls! This craft is perfect for kids and helps improve motor skills and creativity.
Materials Needed:
- 4–6 empty toilet paper rolls
- String or yarn (about 2–3 feet long)
- Scissors
- Hole punch
- Paint, markers, or colored paper
- Glue
- Googly eyes or paper cutouts for eyes
- Tape
Step-by-Step Instructions:
- Flatten each toilet paper roll slightly and cut them into 1–2 inch wide rings. You will need at least 5–6 rings to form the body of the caterpillar.
- Keep one ring slightly larger for the head.
- Using a hole punch or scissors, make two holes on opposite sides of each ring.
- For the head piece, make two additional holes near the front where the “mouth” will be.
- Paint each ring in bright colors and patterns. Try adding stripes, dots, or zigzags for a fun snake design.
- Let the paint dry before proceeding.
- Attach googly eyes or draw eyes on the headpiece.
- Thread the string through the holes in each ring, connecting them to form the caterpillar’s body.
- Tie a knot at the end of the string to keep the rings from falling off.
- Leave extra string at the front to control the caterpillar’s movement.
- Hold the string and move your hands up and down to make the snake wiggle and slither!
- You can even create a jungle backdrop and put on a fun puppet show.
You can use this method to make several animal variations such as a dragon, or snake.
12. Origami Tulips
Materials needed:
- Light card stock. You can use cardstock paper sheets or the cardboard from a cereal box.
- Scissors
Step-by-Step Instructions:
- Follow the instructions on the video
13. Cardboard Puppet Theater

Materials Needed:
- Large cardboard box, think a nice hard cardboard box that you get from Amazon,
- Fabric for curtains
- Craft paper
- Glue
- Paint
Step-by-Step Instructions:
- Cut a large opening in the front of a cardboard box for the stage.
- Decorate the outside with paint or colored paper.
- Attach fabric or paper as curtains on the top of the opening.
- Cut small holes on the sides for puppeteers to insert their hands.
- Create puppets using socks, paper, or small cutouts. Turn an old cardboard box into a puppet theater. Cut out a window for the stage and decorate the box with curtains and designs. Use socks or paper puppets to put on a fun show.
14. Cardboard Aquarium

Materials Needed:
- Shoebox
- Blue paint
- Paper fish cutouts
- Glue
- Markers
Step-by-Step Instructions:
- Take a shoebox and paint the inside blue.
- Cut out fish shapes from colored paper and decorate them.
- Attach string to the fish and tape them to the top of the box so they dangle.
- Add paper seaweed, shells, or other decorations to the bottom.
- Enjoy your homemade underwater scene! Create an under-the-sea world by painting a cardboard box blue and adding paper fish, seaweed, and ocean creatures.
15. Milk Carton House 🏡

Materials Needed:
- Milk carton
- Paper
- Paint
- Scissors
- Optional cotton balls.
Step-by-Step Instructions:
- Cut windows and doors into a milk carton.
- Cover with paper or paint to make it look like a house.
- Fun Twist: Use cotton balls for a snow-covered roof or leaves for a thatched look.
16. Toy Boat ⛵
Materials Needed:
- Milk carton
- Tape
- Popsicle stick,
- Paper
- Paint
- Glue
Step-by-Step Instructions:
- Cut the top of a milk carton and tape it shut to make it float.
- Attach a popsicle stick with a paper sail.
- Fun Twist: Paint the boat with waterproof colors and race it in water!
17. DIY Rocket Ship Using a Milk Carton 🚀
Transform an empty milk carton into a fun and creative rocket ship with this easy DIY craft!
Materials Needed:
- 1 empty milk carton (washed and dried)
- Colored paper or paint
- Scissors
- Glue or tape
- Cardboard or construction paper (for fins and nose cone)
- Markers, stickers, or foil for decoration
Step-by-Step Instructions
- Remove the cap and rinse the milk carton thoroughly.
- Let it dry completely before decorating.
- Wrap the carton in colored paper or paint it with your desired color (red, blue, or silver works well).
- Let the paint dry if used.
- Cut three or four triangle-shaped fins from cardboard or construction paper.
- Glue or tape them evenly around the base of the rocket.
- Cut out small circles for windows and glue them onto the sides.
- Draw or add stickers for buttons, flames, or astronauts.
- For extra shine, add foil or metallic paper to parts of the rocket.
- Hold and play with your DIY rocket ship or hang it from the ceiling for display.
- You can even create a space backdrop with stars and planets!
18. Cardboard Marble Maze

Materials Needed:
- Shoebox lid
- Glue
- Marbles
- Cardboard strips
Step-by-Step Instructions:
- Use a shoebox lid as the base for the maze.
- Cut small cardboard strips and glue them onto the lid in a maze pattern.
- Make sure to leave open paths for the marble to roll through.
- Decorate the maze with colors and stickers.
- Tilt the lid to guide the marble through the maze! Build a fun maze by cutting and gluing cardboard strips into patterns inside a box lid. Tilt the box to guide a marble through the maze.
19. Cardboard Train
Materials Needed:
- Light cardboard or cardboard card stock
- Scissors
- Paint
- Tape
- Glue
Step-by-Step Instructions:
- Create origami retangular boxes.
- Stack and glue multiple small boxes to form train cars.
- Cut out circles from cardstock or paper plates for circles as wheels.
- Cut out windows and doors for the cars.
- Paint the train and attach a string to pull it along.
- Line up the cars for a fun train ride! Stack and cut cardboard boxes to make train cars. Kids can decorate their train and even sit inside!
20. DIY Cardboard Clock

Materials Needed:
- Cardboard
- Brad fasteners
- Markers
- Glue
Step-by-Step Instructions:
- Cut out a large circle from cardboard for the clock face.
- Write numbers around the edge with a marker.
- Cut out two arrow-shaped hands and attach with a brad fastener.
- Decorate with paint or stickers.
- Move the hands to practice telling time! Teach kids about time by making a working clock with a cardboard face and moving paper hands.
21. Fluffy Toilet paper roll Sheep

Materials Needed:
- Empty toilet paper roll
- Cotton balls or cotton wool
- Black construction paper (for the face and legs)
- Googly eyes or a black marker
- Glue or tape
- Scissors
- Pipe cleaners (optional, for legs or tail)
Step-by-Step Instructions:
- Take a clean, empty toilet paper roll and set it upright.
- If you want a different color, paint or cover it with white paper before adding cotton.
- Apply glue all over the outside of the toilet paper roll.
- Stick cotton balls onto the glue to create the sheep’s wool. Cover the entire roll except for one side where the face will go.
- Cut an oval or circle shape from black construction paper for the sheep’s face.
- Glue googly eyes onto the face, or draw eyes using a marker.
- Use a small piece of cotton for a tuft of “wool” on top of the head.
- Glue or tape the black face piece onto the exposed part of the toilet paper roll.
- Cut four thin strips from black construction paper for legs and glue them at the bottom of the roll.
- Optional: Use pipe cleaners or a small cotton ball for a tail and attach it to the back.
22. DIY Drums from an Oatmeal Cylinder Box 🥁
Create a fun and simple drum using an empty oatmeal container! This craft is perfect for kids who love music and hands-on activities.
Materials Needed:
- Empty oatmeal container (cylinder box)
- Thick paper, fabric, or balloon (for the drumhead)
- Rubber bands or strong tape
- Scissors
- Glue or tape
- Paint, markers, or stickers (for decoration)
- Wooden spoons or chopsticks (as drumsticks)
Step-by-Step Instructions:
- Clean and prepare the container.
- Remove any labels or lids from the oatmeal container.
- Wipe it clean and let it dry completely.
- Cut a circle slightly larger than the opening of the oatmeal box. Use thick paper, fabric, or a balloon (cut and stretched over the opening).
- If using a balloon, cut off the neck and stretch it over the top of the container.
- Secure the drumhead in place using rubber bands or strong tape around the edges.
- Wrap the outside of the oatmeal box with colored paper, stickers, or paint.
- Draw patterns, music notes, or any fun design to make it unique.
- Let it dry before handling.
- Use wooden spoons, chopsticks, or craft sticks as drumsticks.
- To soften the tips, wrap them with cotton balls or tape for a softer sound.
23. DIY Caterpillar Craft Using Egg Cartons 🐛
Create a fun and colorful caterpillar using an egg carton with this easy craft project for kids!
Materials Needed:
- 1 empty cardboard egg carton
- Scissors
- Paint, markers, or crayons
- Glue
- Googly eyes (or draw eyes with a marker)
- Pipe cleaners (for antennae)
- Hole punch or skewer (for antennae holes)
- Pom-poms, stickers, or glitter (optional for decoration)
Step-by-Step Instructions:
- Use scissors to cut a row of 4-6 connected egg cups from the carton.
- This will form the body of the caterpillar.
- Paint the egg carton in bright colors (green, yellow, or rainbow).
- Let the paint dry completely before moving to the next step.
- Add designs with markers, stickers, or glitter to make it unique!
- Choose one end of the carton for the caterpillar’s head.
- Glue on googly eyes, or draw eyes with a marker.
- Use a marker to draw a small smiley mouth.
- Use a hole punch or skewer to make two small holes on the top of the head.
- Insert pipe cleaners into the holes and curl the ends to create fun antennae.
- Secure with a little glue if needed.
- Cut small pipe cleaner pieces and glue them to the sides as legs.
- Pom-poms can also be glued along the bottom for a cute effect.
Conclusion
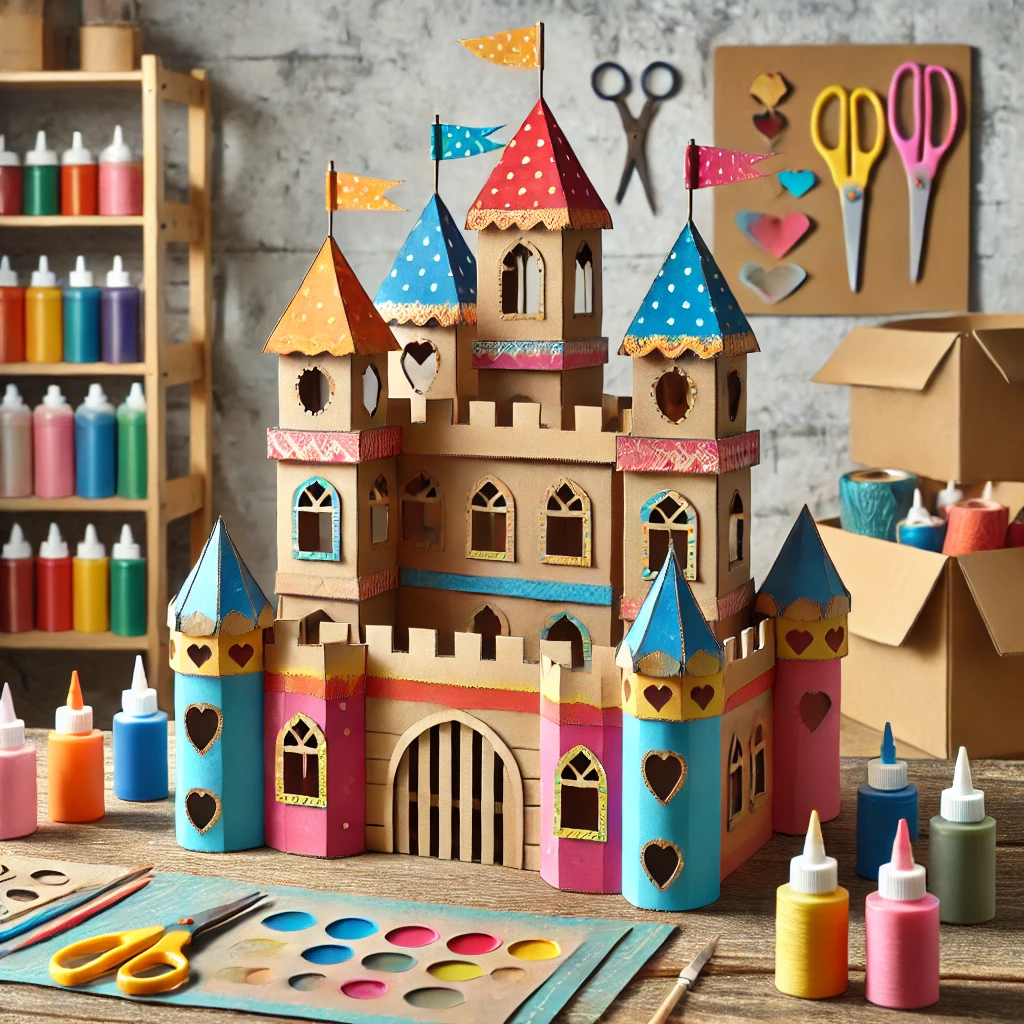
Cardboard crafts are a fantastic way to engage kids in creative play while promoting sustainability. Whether making a castle, a rocket ship, or a musical instrument, these projects encourage children to use their imagination and develop fine motor skills. So grab some old boxes and start crafting!
Which craft will you try first?
Vanessa Rooney – LDS Mum
